When it comes to tile installation, one of the issues that homeowners often encounter is tiles sliding down the wall. This can be frustrating and can compromise the overall look and durability of the tile project. In order to prevent this from happening, it is important to understand what causes tiles to slide and how to properly secure them in place.
What causes tiles to slide down the wall?
There are several factors that can contribute to tiles sliding down the wall. One common cause is insufficient adhesive. If the adhesive used is not strong enough to hold the weight of the tiles, they can gradually slip down over time. Incorrect use of spacers can also cause tiles to slide.
Spacers help maintain an even gap between tiles, but if they are not positioned properly, the tiles may shift and slide. Another factor is using the wrong type of tile adhesive. Each type of tile requires a specific adhesive, and using the wrong adhesive can lead to poor bonding and tiles slipping down.
How to prevent tiles from sliding down?
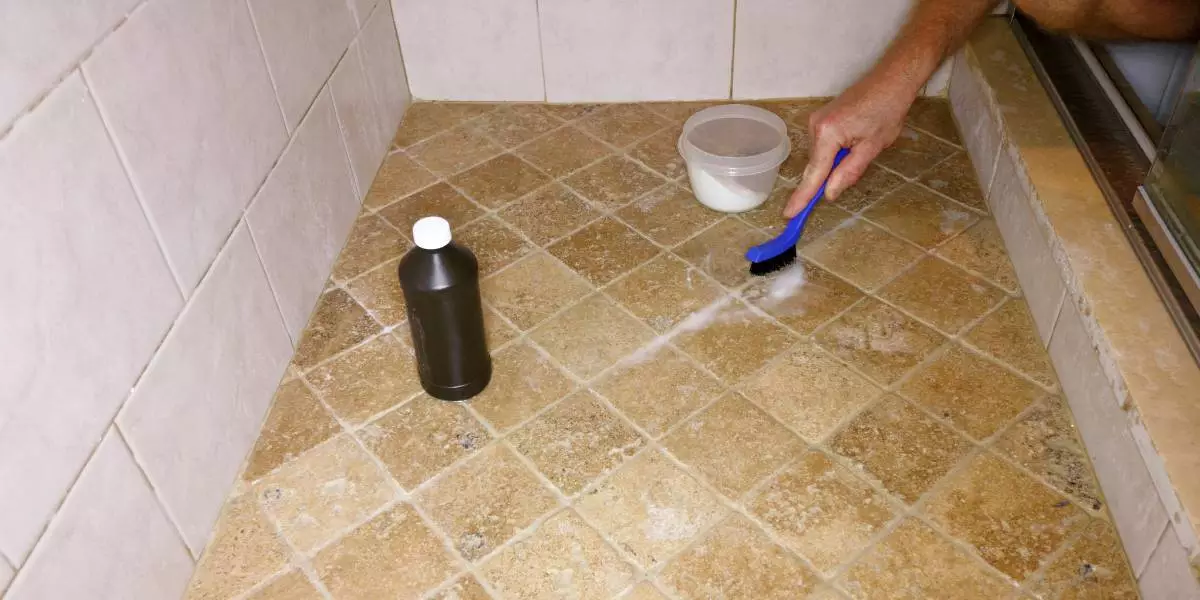
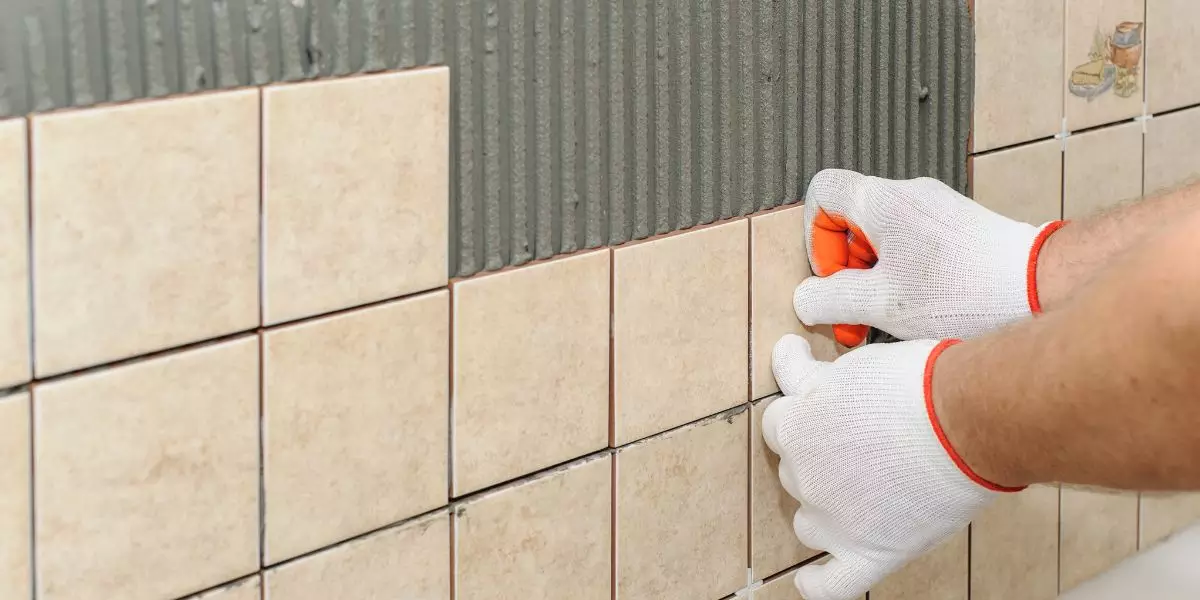
Preventing tiles from sliding down requires proper preparation and the use of appropriate techniques. Ensuring proper surface preparation is crucial. The wall should be clean, dry, and free from any loose debris. Back-buttering the tiles is another technique that can enhance stability.
This involves applying a thin layer of adhesive to the back of the tile before setting it in place. Using a batten for support is also effective. A batten is a temporary wooden board that is screwed directly into the wall, providing a stable surface for the tiles to adhere to.
What to do if tiles are already sliding down?
If tiles are already sliding down, it is important to address the issue promptly to prevent further damage. The first step is to remove the affected tiles. Use a grout saw or tile cutter to carefully remove the tiles without causing any additional damage.
Once the tiles are removed, reapply adhesive to the back of the tiles and securely set them back in place. It may also be necessary to consider using a different adhesive or grout to ensure better bonding and stability.
Can using a notched trowel help prevent tiles from sliding down?
A notched trowel can indeed help prevent tiles from sliding down the wall. When using a notched trowel, the ridges created by the notches help create a stronger bond between the tiles and the adhesive. This helps keep the tiles in place and minimizes the risk of them sliding down.
When using a notched trowel, it is important to use it correctly. The trowel should be held at a 45-degree angle and the thinset or adhesive should be spread evenly across the surface before setting the tiles.
Common mistakes to avoid when laying tiles
When laying tiles, there are several common mistakes that should be avoided to ensure a successful installation. One common mistake is skipping the back-buttering step. Back-buttering helps improve the bond between the tile and the adhesive, and skipping this step can increase the risk of tiles sliding down. Another mistake to avoid is not using spacers consistently.
Spacers help maintain uniform spacing between tiles, preventing them from shifting and sliding. Ignoring the importance of proper adhesive and grout selection is another mistake that should be avoided. Choosing the right adhesive and grout for the specific type of tile being installed is crucial for achieving a secure and durable tiled surface.
Q: What is back buttering and how does it help prevent tiles from sliding?
A: Back buttering is the process of applying a thin layer of mortar on the back of each tile before laying it on the wall. This helps create a stronger bond between the tile and the wall surface, preventing slipping. Back buttering is especially useful when dealing with larger, heavier tiles or tiles with an uneven surface that may have difficulty adhering to the wall on their own.
Q: Can I use any type of tile adhesive to prevent sliding?
A: It is important to choose the right type of adhesive for your tile project to prevent sliding. Two commonly used adhesives for wall tiles are thinset mortar and mastic. Thinset mortar is a cement-based adhesive that offers strong adhesion and is suitable for most wall tile applications.
Mastic, on the other hand, is a ready-to-use adhesive that is easier to apply but may not be as strong. It is important to consult the manufacturer’s instructions and choose an adhesive that is appropriate for the type and size of your tiles.
Q: Should I use tile spacers to prevent tiles from sliding?
A: Yes, using tile spacers can help prevent tiles from sliding during installation. Tile spacers are small plastic or rubber devices that are placed between tiles to ensure consistent spacing and alignment. They help create even grout lines and maintain the layout of the tiles while the adhesive sets. The spacers can be easily removed once the adhesive is dry and the tiles are secure.
Q: How can I ensure that the bottom row of tiles is level and does not slide down?
A: To ensure that the bottom row of tiles is level and securely in place, you can use a batten board. A batten board is a temporary horizontal support that is attached to the wall at the desired height of your tiles.
It provides a guide for positioning the bottom row and helps prevent them from sliding down. Once the adhesive sets, the batten board can be removed and the tiles will be properly aligned and secure.
Q: How should I lay the tiles in a pyramid pattern to prevent sliding?
A: Laying the tiles in a pyramid pattern can help prevent sliding and ensure a more secure installation. Start by placing a full tile in the center of the bottom row. Then, position the next two tiles diagonally above the center tile to form a triangle.
Continue this pattern, with each row having one less tile than the row below, until you reach the top. The pyramid pattern creates a stable structure and helps distribute weight evenly, reducing the chances of sliding.
Q: Can I use tile nippers to prevent tiles from sliding?
A: Tile nippers are primarily used for cutting or shaping tiles, rather than preventing sliding. However, they can be useful in certain situations. For example, if you have irregularly shaped tile pieces that do not fit flush against the adjacent tiles, you can use tile nippers to trim them to the desired size. This can help create a more secure and even installation, reducing the chances of sliding.
Q: Do I need to use grout spacers to prevent tiles from sliding?
A: Grout spacers, also known as tile spacers, are not designed to prevent tiles from sliding. Their main purpose is to ensure consistent spacing between tiles and create even grout lines. However, by using tile spacers, you can maintain the proper alignment and spacing of the tiles while the adhesive sets, which can indirectly help prevent sliding.
It is recommended to remove the spacers once the adhesive is dry and replace them with grout.
Q: Is it necessary to apply mortar on the wall before installing tiles?
A: Yes, it is necessary to apply mortar, such as thinset mortar, on the wall before installing tiles. The mortar provides a strong bond between the tiles and the wall surface, ensuring that they do not slide or come loose over time.
It is important to properly mix the mortar according to the manufacturer’s instructions and apply it evenly on the wall using a notched trowel. This will create a solid base and improve the overall stability of the tiles.
Q: What can I do if the tiles are still slipping down after installation?
A: If the tiles are still slipping down after installation, there may be a few possible reasons. First, make sure that the adhesive is still fresh and has not exceeded its drying time. If the adhesive has dried, it may not provide sufficient grip to hold the tiles in place.
Check that the tiles were properly back buttered and firmly pressed onto the wall. If there are any gaps or uneven areas behind the tiles, they may be more prone to sliding. Finally, ensure that the bottom row of tiles is level and securely positioned, as any movement in this row can cause the entire installation to shift.